
Hello Friends ,
Our team would like to thank you for choosing Total File Commander Pro!
To make your usage even better and easier, we’ve created for you some instructions (of course, with screenshots attached). We hope this will be helpful for you!
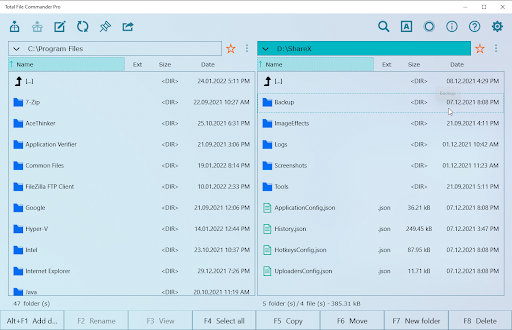
First of all, launch the application, and select the disk to work with (and not the folder) and then you’ll have access to all folders.
This can be done with “Add Drive” button or simply click at Alt + F1.
Pic 1 – Button “Add Drive”
To open a disk on the right side of the app, or, for example, to replace an already opened one in the left pane, just double-click the button with the address bar. This is how you can open the Folder Picker.
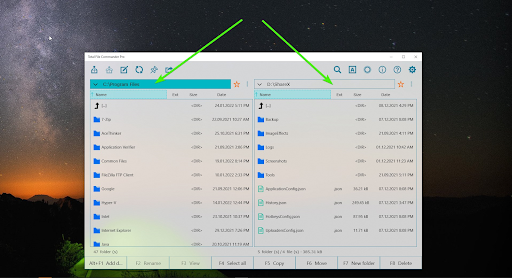
Pic 2 – Selected button with an address bar that allows you to change directory/disk in the corresponding window
Here is also a feature to view the history of opened folders.

Pic 3 – With this button, you can view the history of opened folders
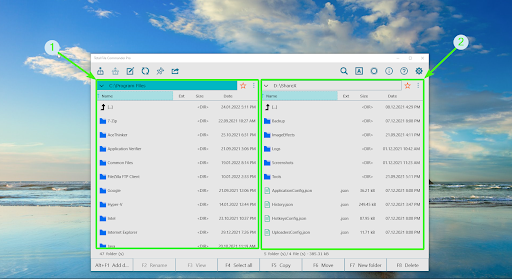
You can add a folder to your “Favorites” to quickly access it.
To do this, you need to select any folder (move to it), click on the “Star” (1). After that, the folder that you’ve added appears in the “Show Favorite” (2).

Pic 4 – The button “Favorite” and drop-down list (Drag & Drop menu) “Show Favorite”
Please note: while working with the application, you are not working with all the windows at once. You work with only active windows.
How to define which window is active? The active window has a dark blue address bar color.
Pic 5 – Windows borders:
1 – left window is an active window, 2 – right window is an inactive window
Hotkeys and arrows work with an active window
You can move between windows with the “TAB” key or by clicking the mouse within a single window.
There are the following tools in the Top panel of the app:
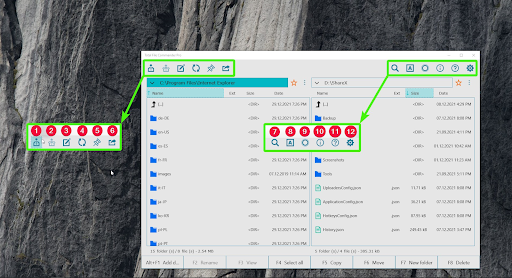
Pic 8 – Tools of the top panel
- “Pack files”
- “Unpack files”
- “Inking”
- “Refresh”
- “Pin”
- ”Share”
- “Search for”
- “Shortcuts”
- “Commands of Cortana”
- “About”
- “Help”
- “Settings”
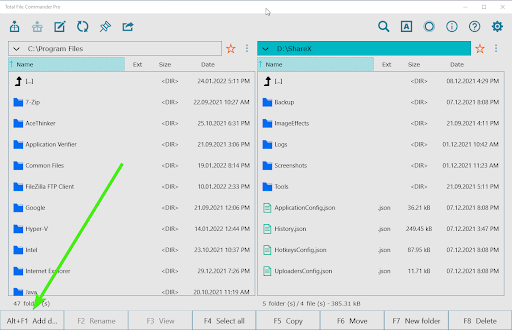
In the bottom panel of the app, you can find tools that help to manage your files and folders: “Rename”, “View”, “Select All”, “Copy”, “Move”, “New Folder”, “Delete”.
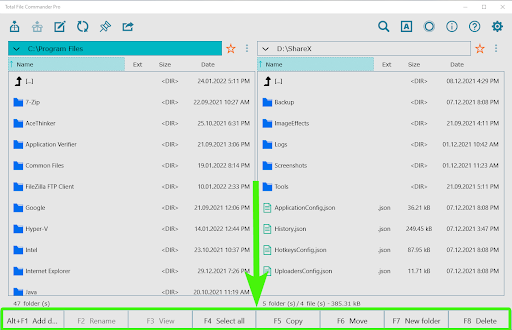
Pic 7 – Tools of the Bottom panel & hotkeys
If the buttons are not active – select (press) the desired file/files.
F2 “Rename”
Select file or folder then click on this button and rename the file or folder.
F3 “View”
With this button, you can view the file. You can also view the file by clicking on the file with the left mouse button.
F4 “Select all” / “Deselect”
Here is also a possibility to select all files and folders that are in the active window (with just one click). With the “Deselect” button, you can deselect all items in the active window.
F5 “Copy”
The button for copying files and folders. It copies the selected items (folders/files) from the active window to the inactive. You can select items by right-clicking on them.
F6 “Move”
You can move files and folders from the active window to inactive (the same as by the feature “Cut” / “Paste”).
F7 “New Folder”
Here you can create a new folder.
F8 “Delete”
This button allows you to delete items that are selected with the right click mouse.
When the app’s window is opened more than half-screen, it is possible to view additional file info and sort by existing parameters (Name, Ext, Size, Date).
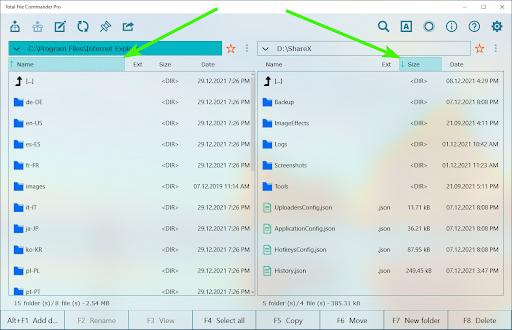
Pic 8 – Additional information about folders and files, and sort feature by one of the (ascending/ descending) parameters
Additional Information:
We are always aiming to deliver you the best experience with our App. Hope this tutorial was really helpful and you using the app with pleasure.
To learn more about app’s features, head over to this page.
You can also contact us by this email –> contact.neonband@gmail.com
Support team is always to your service!

Leave a comment